Nginx, MySQL, PHP installation - Debian 9
LEMP is a software bundle used to provide dynamic web pages and web applications. LEMP stands for a Linux operating system with an Nginx web server, backend data stored in a MySQL database, and dynamic processes processed using PHP.
For the purposes of our guide, we will need
- A server with the Debian 9 distribution installed
- A user with sudo privileges
Installation of Nginx Web Server
To display web content, we need a web server. We'll use one of the most popular web servers - Nginx.
To install Nginx, we'll use a package from the official repository.
sudo apt update
sudo apt install nginx
If you have set up a firewall (such as ufw), we will need to allow a profile that allows the necessary traffic.
To enable secure SSL traffic for our server, an additional profile will be needed.
sudo ufw allow 'Nginx HTTP'
sudo ufw allow 'Nginx HTTPS' // to enable secure traffic
Verify that you can access the newly installed web server.
Find the IP address of your server using:
ip addr show eth0 | grep inet | awk '{ print $2; }' | sed 's/\/.*$//'
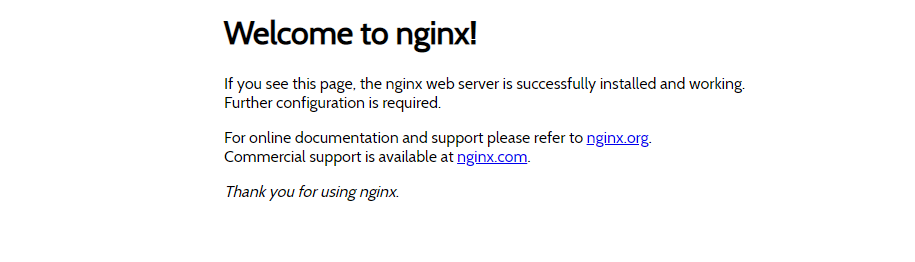
Open a browser and check if you can access the Nginx homepage. Enter the IP address of your web server in the URL bar.
http://your-ip-address
Installation of MySQL
Now that we have the web server installed, we need to install MySQL, an open-source relational database server.
You can easily install MySQL with:
sudo apt install mysql-server
We have MySQL installed, but the configuration is not complete yet.
To complete the MySQL setup, we'll use a script:
sudo mysql_secure_installation
The script will ask for the root password, which we haven't defined yet. Press Enter. The next question will be whether to set a root password; proceed by pressing 'y' and Enter. For other questions, it's a good practice to continue by pressing 'y' and Enter.
Installation of PHP
To install PHP, run:
sudo apt install php-fpm php-mysql
PHP is now installed. Next, we'll configure Nginx to use PHP.
Configuring Nginx
We have all the necessary components installed. The only thing left is to tell Nginx to use PHP for dynamic content.
Instead of modifying the basic Nginx configuration, we'll create a new one, including the root structure for our PHP files.
First, create a folder in /var/www for PHP pages.
sudo mkdir /var/www/your-domain
Open a new Nginx configuration file in the sites-available directory.
sudo nano /etc/nginx/sites-available/your-domain
We've created a new empty file. Insert the following configuration and save it.
server {
listen 80;
listen [::]:80;
root /var/www/your-domain
index index.php index.html index.htm;
server_name your-domain
location / {try_files $uri $uri/ =404;}
location ~ \.php$ {include snippets/fastcgi-php.conf; fastcgi_pass unix:/var/run/php/php7.0-fpm.sock;}
}
This configuration is for insecure traffic on port 80.
Activate the configuration by creating a link to the sites-enabled directory.
sudo ln -s /etc/nginx/sites-available/your-domain /etc/nginx/sites-enabled
Next, test for any errors in the configuration file.
sudo nginx -t
If any errors are displayed, go back and check your configuration file. Then, have Nginx reload the configuration.
sudo systemctl reload nginx
Testing
Create a new PHP script that will display current information about the running PHP on your server.
nano /var/www/your-domain/info.php
Insert code to display PHP information into the file.
Save the file and access it in your browser using http://your-domain/info.php. If you see a similar output, everything is working correctly.
http://your-domain/info.php

Done.