How to adjust a disk size - GParted
If you have expanded the disk or upgraded to a higher VPS tariff, you will need to increase the partition table / partition layout and expand the file system. We will use a simple procedure. GParted is a graphical tool for working with disks and partitions. It allows them to be easily modified, enlarged and other operations. GParted also exists as a standalone LiveCD called Live CD, which we use to edit the disc to VPS.
1. Mount ISO file
Log into admin.hukot.net administration.
In sidebar choose Virtual servers.
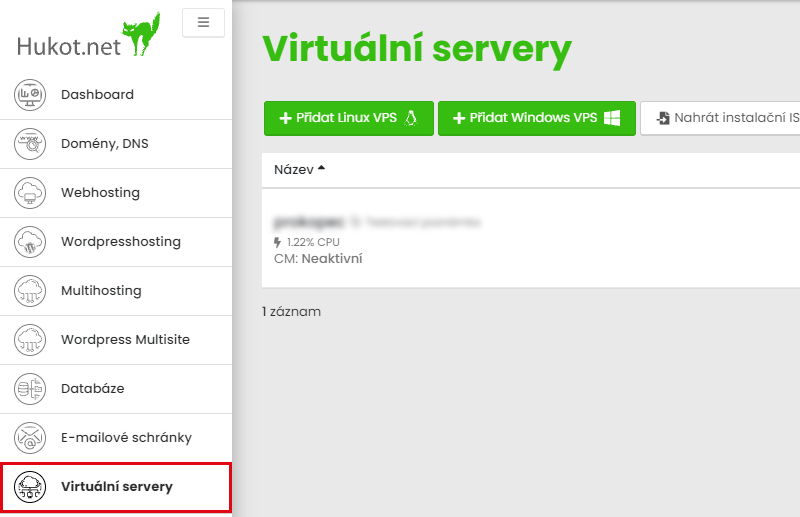
From the list of VPS select the one you want to adjust disk size. From action menu select Mount installation ISO image.
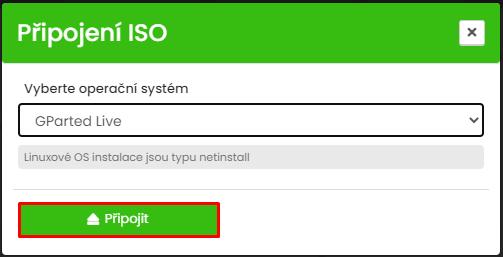
In the popup window select GParted Live and click on Mount.
Open Terminal and restart the VPS
In BIOS configuration the boot priority must be set as "CDROM".

2. Start GParted
In the boot menu select GParted LIVE and progress through configuration.

3. Adjust disk size
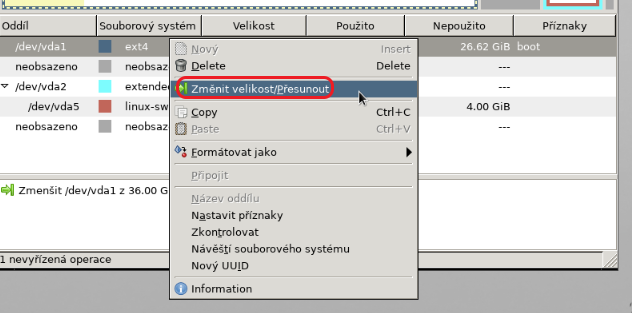
On the desktop open GParted tool.

In the list of available partitions select the one you want to adjust, right click and select resize/move.
Adjust to required size and confirm it.
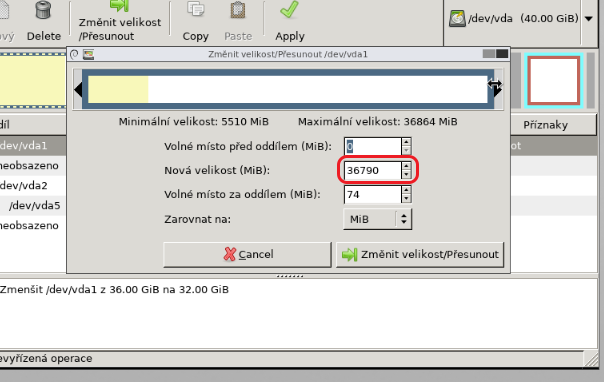
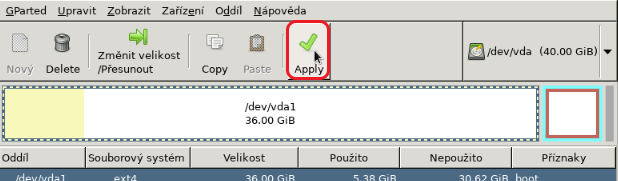
To apply changes select Apply.
Now reboot the VPS and we are done.