After purchasing a Virtual Server with ISPConfig from us, you will receive a fully pre-installed server with ISPConfig ready for use, and we will show you how to configure ISPConfig.
You will receive the details for your VPS with ISPConfig on your contact email address.
ISPConfig admin account: admin
ISPConfig admin password: xxxxxxxxxxxxx
ISPConfig URL: xxx.xxx.xxx.xxx:8080
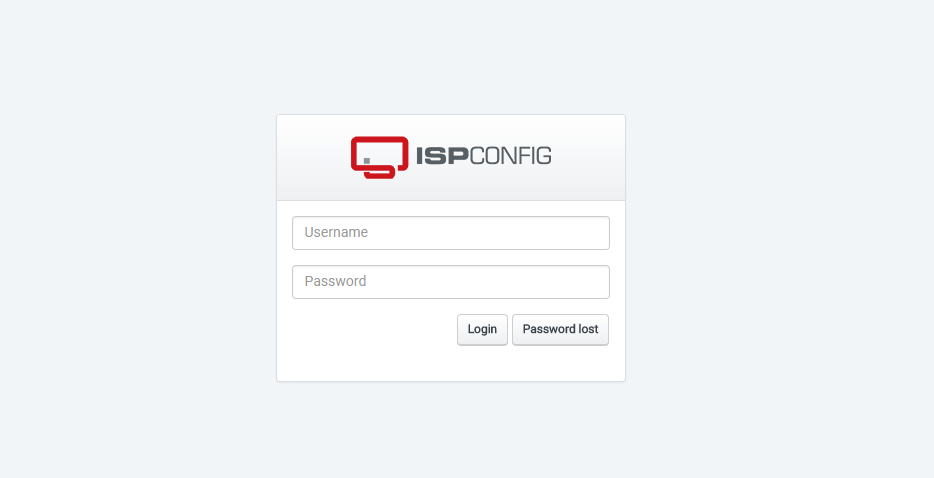
Open the ISPConfig URL in your web browser and log in using the provided credentials.
Logging into ISPConfig
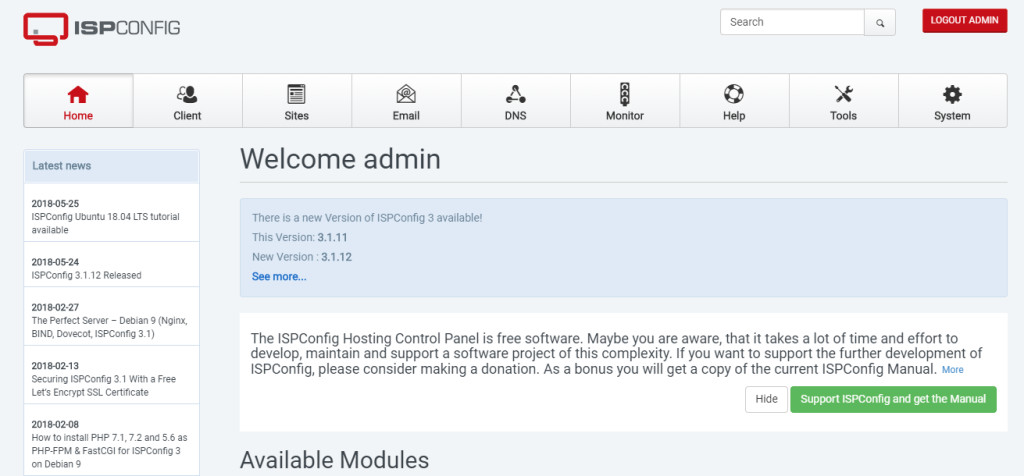
After logging in, you will see the following screen:
Screen after logging in
Creating a User
Before adding a new website, you need to create a user or client first.
Go to the clients tab.
Clients Tab
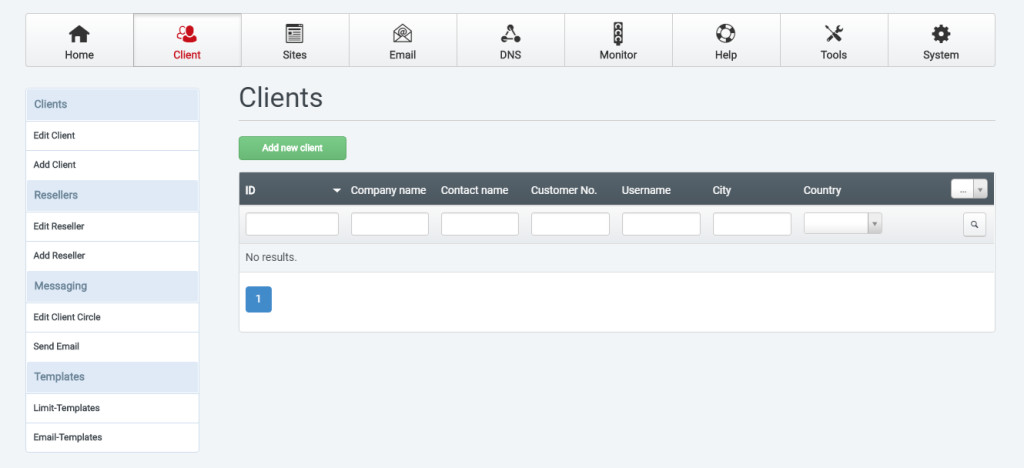
Click on the "Add new client" button.
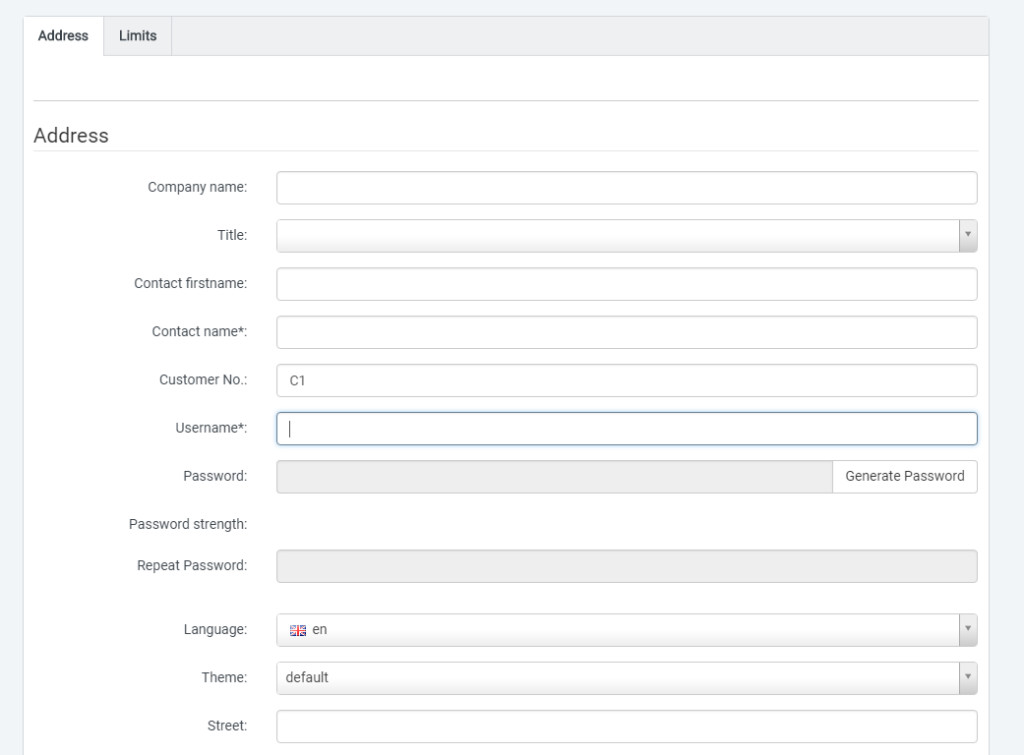
Fill in the necessary information and click "Save."
Creating a New User
After clicking "Save," you will see that a new user has been added.
List of Users

Adding a Domain
Now that you have a user created, you can add your domain to ISPConfig.
Go to the sites tab.
Sites Tab
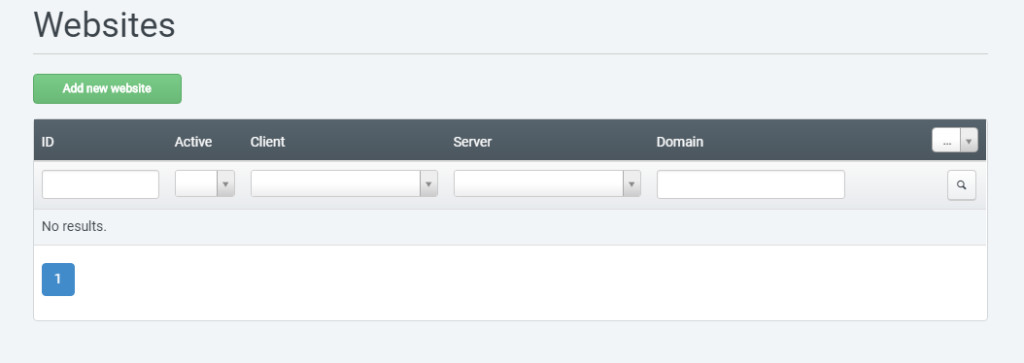
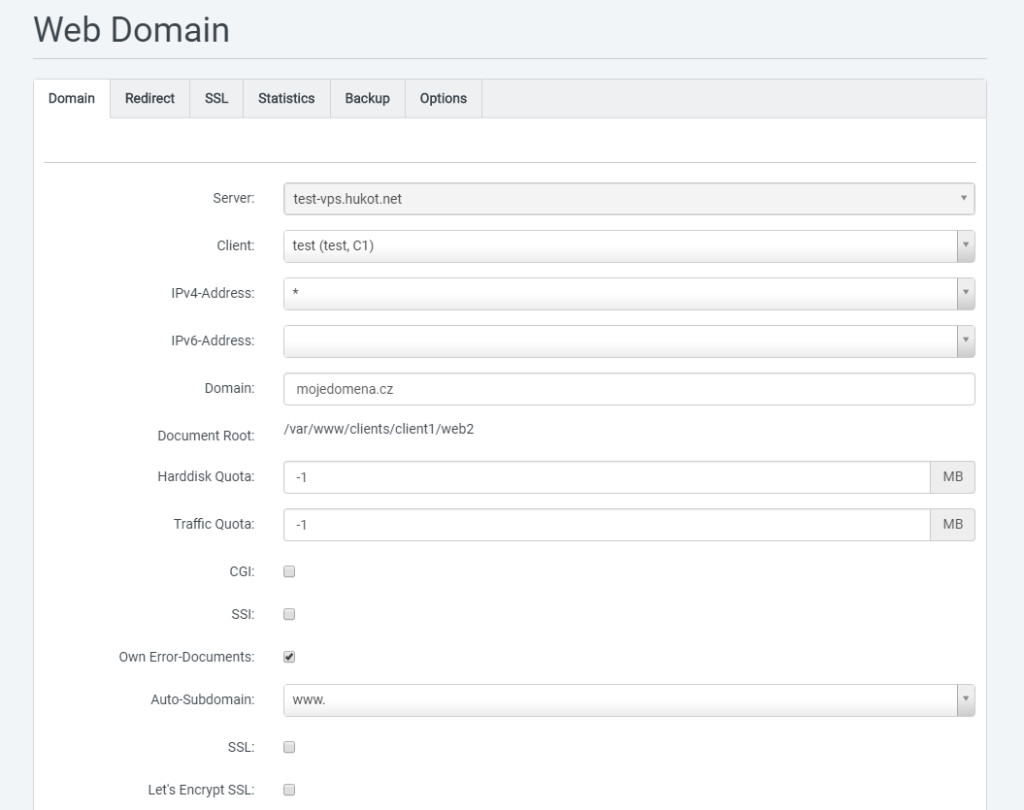
Click on the "Add new website" button.
Fill in the necessary details:
Client - Newly created user
IP Addresses
Domain - Your domain name, in the format: my-domain.com
You can also enable SSL if needed.
// Note: You can configure redirects and other options if necessary.
Adding a New Domain
Now, all you need to do is change the A record in your domain's DNS to point to your VPS, and your domain will be added to ISPConfig.
Instructions for changing the DNS record can be found here.