Windows 11 installation on VPS
Are you the owner of a VPS and would like to use the Windows 11 operating system on your VPS? We'll show you how to do it.
The following guide is for Windows 11 versions.
Log in to the hosting services administration at admin.hukot.net and go to the Virtual Servers tab.
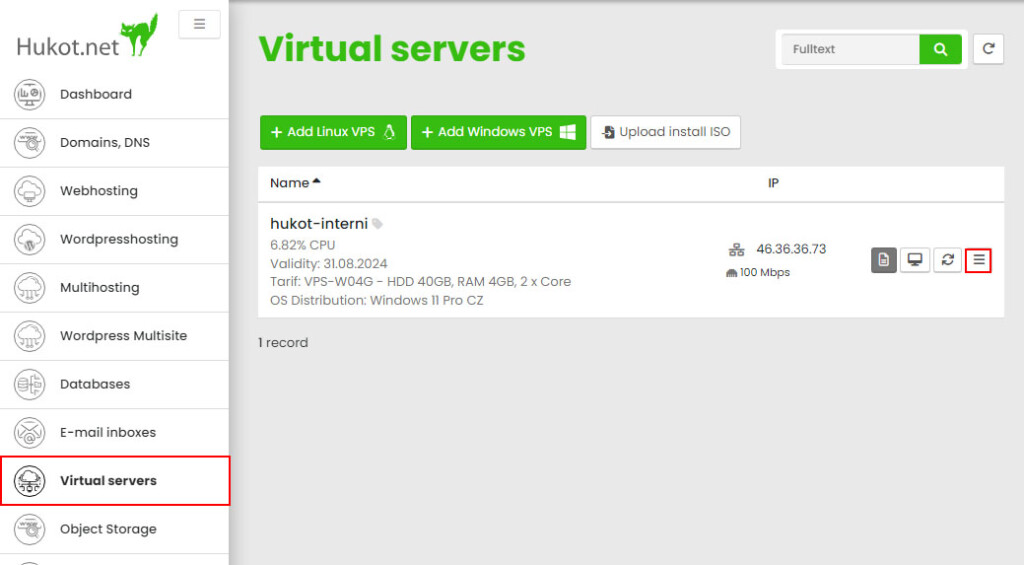
If your VPS is powered off, turn it on using the Power Switch button.
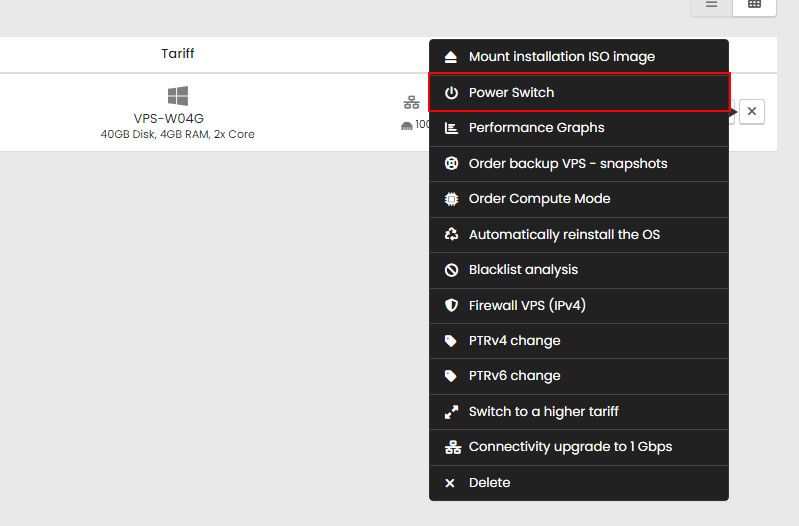
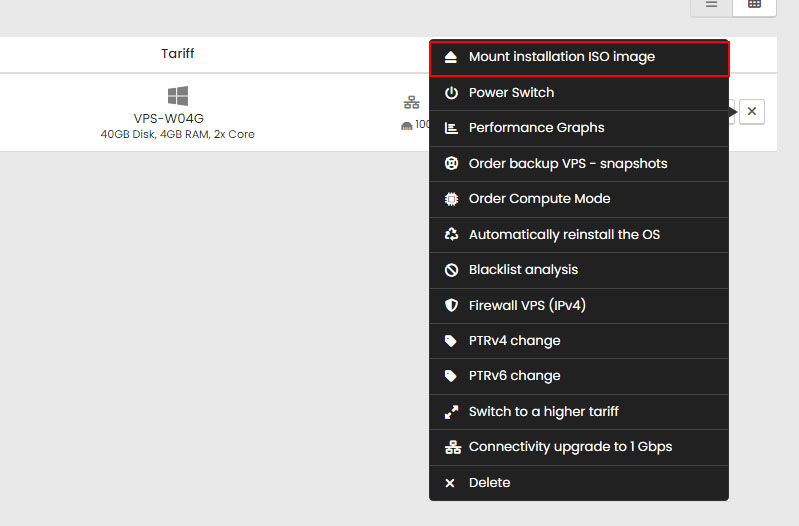
Now, attach the desired OS installation ISO image. Click on the Mount Installation ISO Image button.
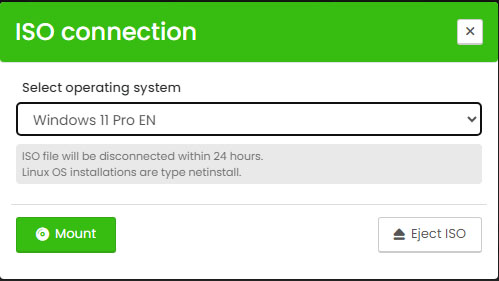
From the available list, select Windows 11 and click Attach.
Note: If you don't see Windows 11 as an option, please contact our customer support.
Open the Terminal.
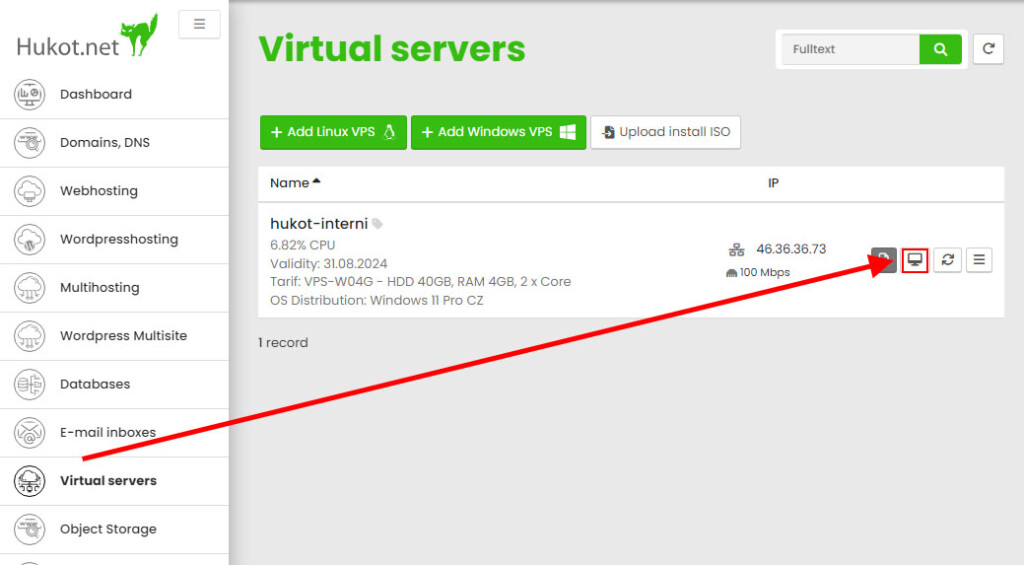
After starting the VPS, you will see a startup screen; press the ESC key.

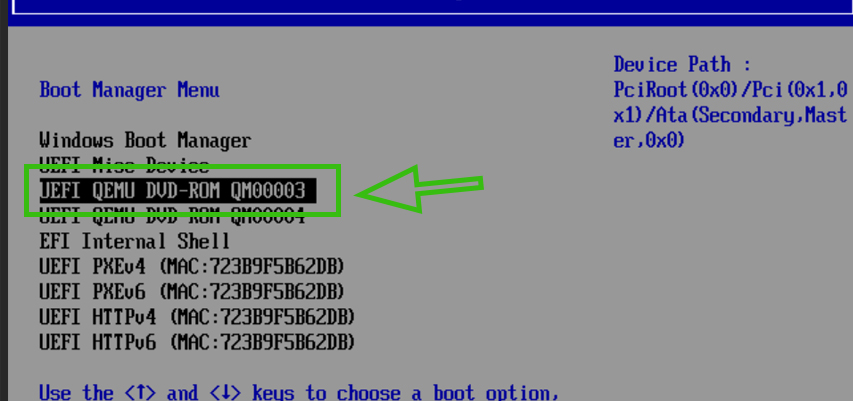
From the menu, select Boot Manager.

Select the disk from the list of devices.
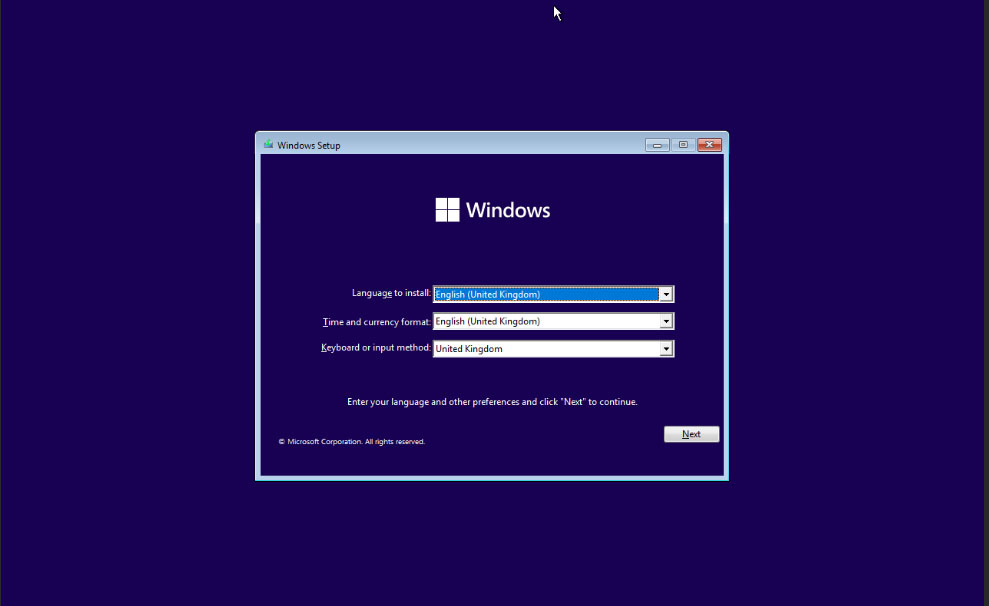
Navigate through the installation program.
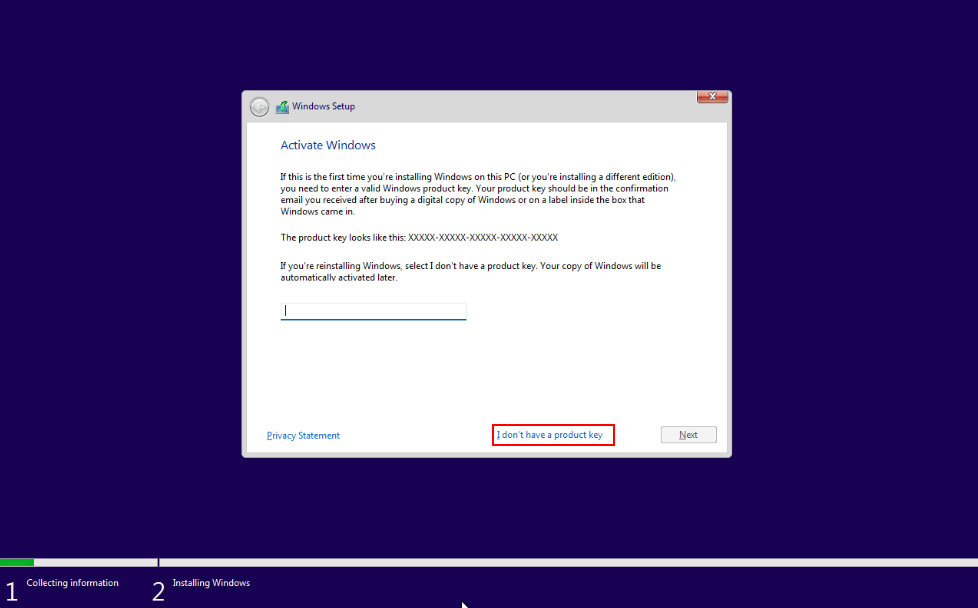
Enter the product key and continue with the installer.
If you don't have a product key, click on "I don't have a Product Key"
Choose the Custom type of installation.
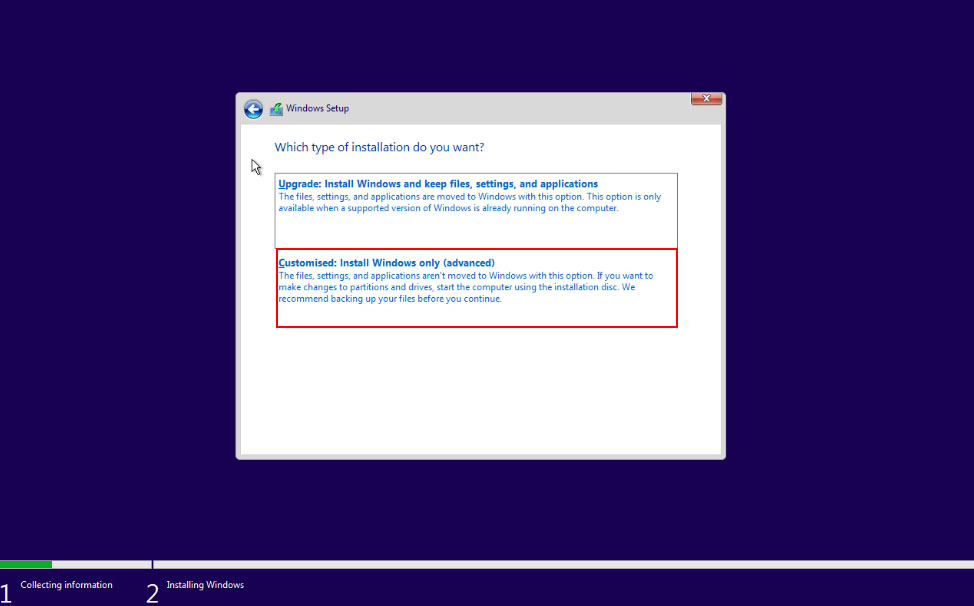
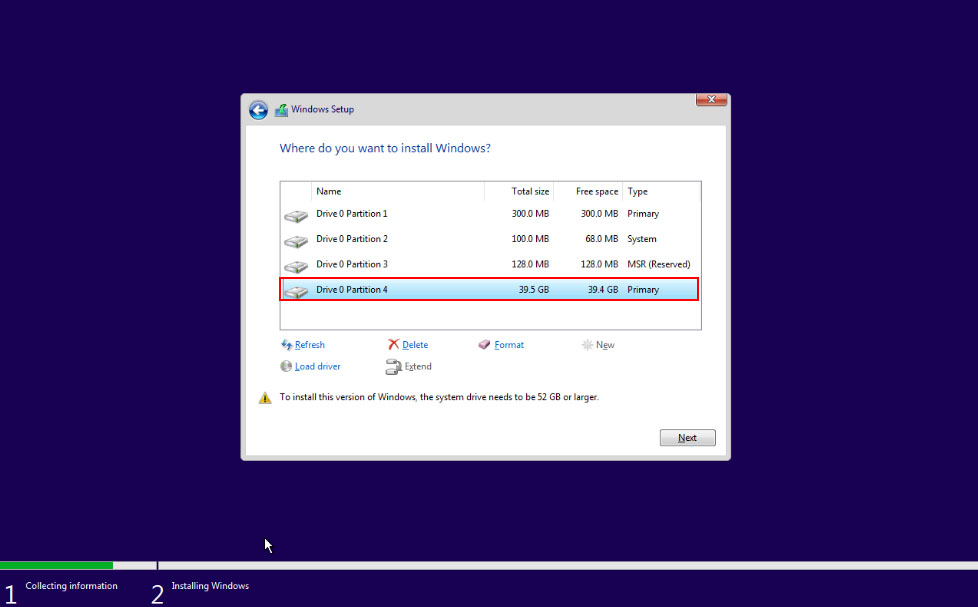
Prepare the partition layout for Windows and continue with the Next button.
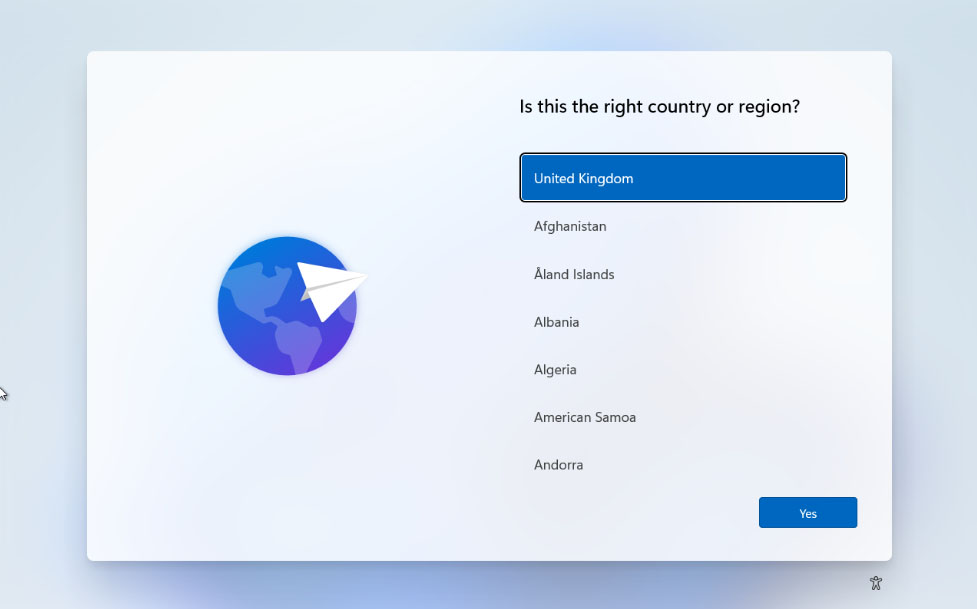
After the restart, select your country.
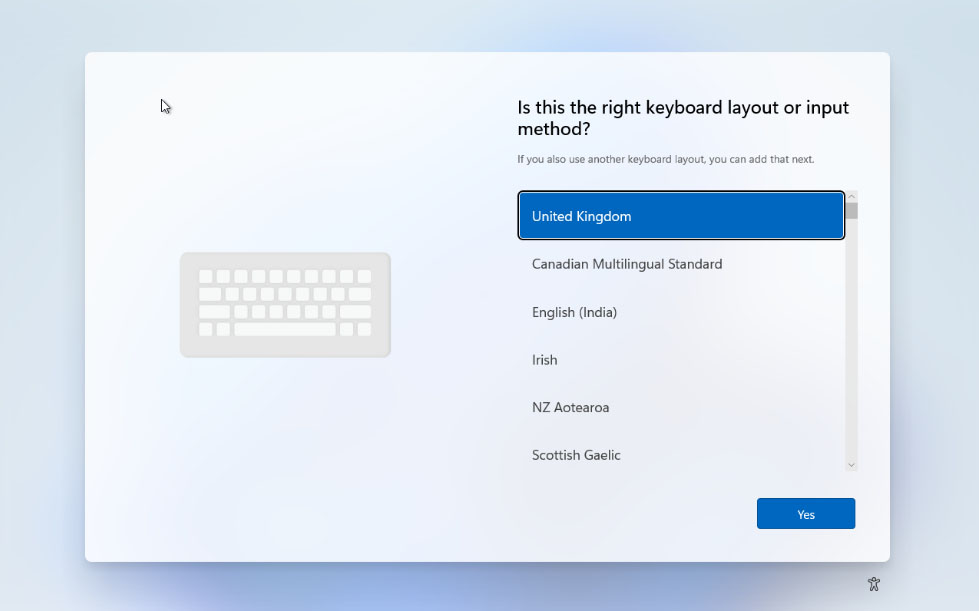
Select your keyboard layout.
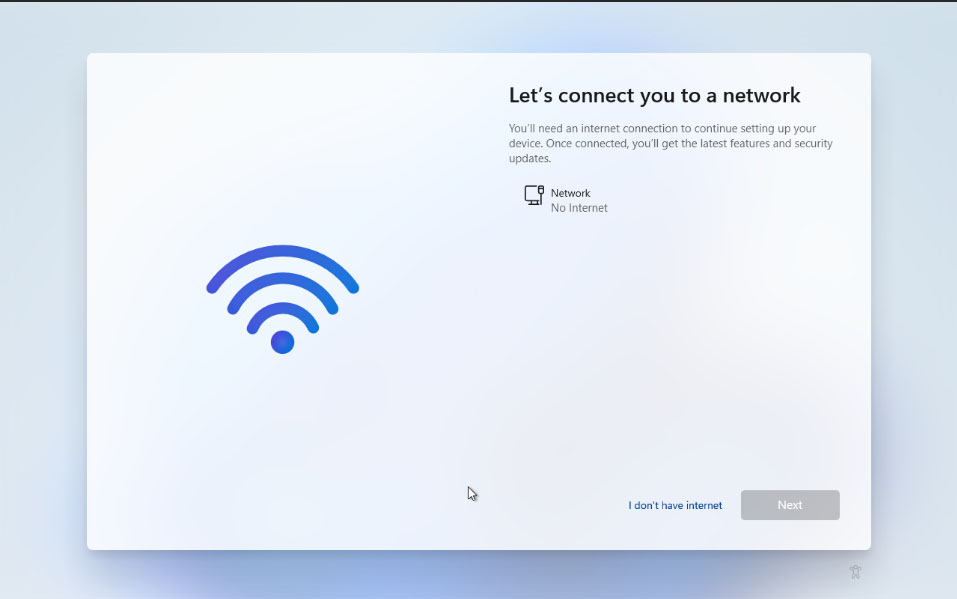
The installer won't let you proceed without network configuration. Therefore, use Shift + F10 to open a terminal and enter OOBE\BYPASSNRO.
After confirming, your VPS will restart, and you can continue without network configuration.
Click the I don't have internet button and continue with the Continue with Limited Setup button.
Complete the user setup and you're done.
Now you need to set up the network connection.