How to create WordPress website
The WordPress content management system is very popular today. It offers an intuitive environment, a wide range of plugins, and, most importantly, the option to use ready-made visual templates. Thanks to a large community, there are available advice, needed information on forums, and support. Creating new websites in the WordPress content management system is manageable for everyone. I'll show you how to create a basic page in WordPress.
1) Web Hosting and Domain
To create a presentation, you need web hosting and a domain. I registered a domain at Hukot.net and paired it with WordPress hosting in the WPH-03 plan - an ideal choice for a WP presentation. After placing the order, I installed the CMS WordPress with a one-click installation in the Webhosting administration following the guide. Information about setting up the new content management system and login details were sent to me via email. The login page to the WordPress admin area is http://vasedomena.cz/wp-admin
2) WordPress Administration, Visual Templates
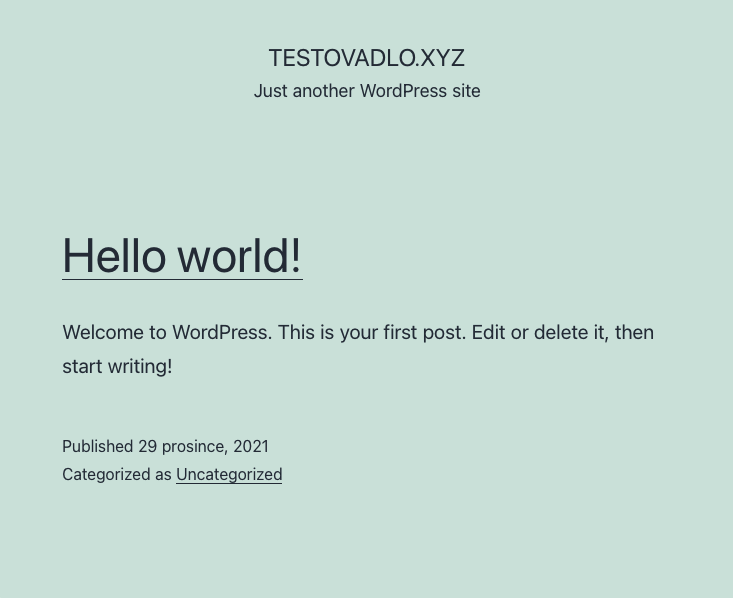
After the automatic installation, you will see the basic layout of the page. Don't worry; that's not all. It's the basic visual template.
Now, let's see how to change the template by selecting from the available templates in the WP administration. Sign in: http://vasedomena.cz/wp-admin
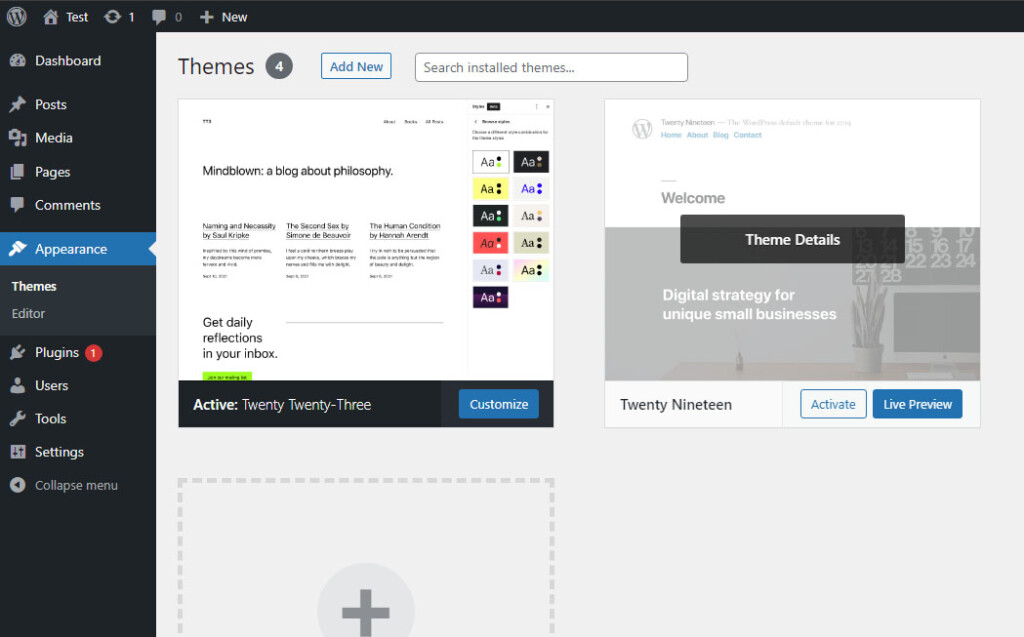
In the WordPress admin area, hover over Appearance in the left menu and then click on Themes. You'll see the TwentyNineteen template, which we will activate. You can start exploring new templates using the Install button next to the number of installed templates at the top left.
Examine the available templates and choose your favorite based on what kind of page you are creating. For example, if you're creating a blog, you will probably want a layout that showcases the latest posts on the front page. If you are creating a corporate presentation, you may prefer the option to display a static front page. You can find the settings for each template; for the front page, you can choose any created page.
You can modify the used template later at several places using the Customize button, either in the Appearance menu, in the list of installed templates, or in the navigation bar when browsing the website.
While editing the template, you will also get to know widgets, which are elements with various pre-prepared content (list of categories, search, latest comments, etc.) that can be displayed in templates in different places (most commonly in the sidebar and footer). Basic widgets are usually displayed in the template. You can add widgets to the template either here or via Appearance > Widgets in the menu, and you can also remove individual widgets.
Once you've customized the template to your liking, confirm the changes by clicking the Publish button.
3) Content Creation - First Article, Page
As you noticed during layout customization, the newly installed WordPress already contains a first page and a first post, along with a basic category. What's the difference between pages and posts? In simple terms:
Pages
- Represent static and long-term content;
- They usually don't appear anywhere on their own; their placement is determined by the author;
- They can be permanently accessible, e.g., from the menu, but they may not be visible at first glance.
Posts
- Are suitable, especially for articles, news, and updates;
- Can be sorted into categories and assigned tags;
- They are usually displayed on the front page immediately after being published.
You can create a new post via Posts > Add New Post and a new page via Pages > Add New Page.
Both pages and posts are created using the same visual editor, which is currently a block editor, bringing new possibilities for post creation compared to the classic visual editor.
For your first post, the Classic editor block is sufficient. This block works similarly to software like Word. Enter the article title and click in the field below it. Use the + icon to search for the "Classic editor" feature.
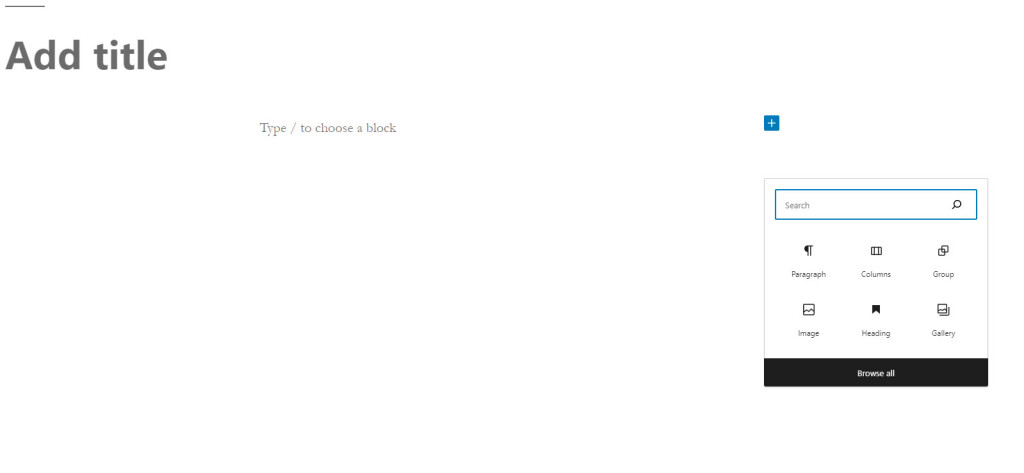
A visual editor with basic text editing and media insertion tools will appear in the block. Write your first article here, and in the right menu, click on the "Document" tab. Once you're done, you can publish the article using the Publish button.
You can also add new categories and tags directly in the article. You can manage both of them through Posts > Categories and Posts > Tags.
In the right menu of the article or page, you can also schedule the publication for a specific date/time, enable or disable comments, or set a featured image, which most templates use today.
You can either delete the existing first page and first post or edit them, just like any future posts and pages. You can do this via Posts > Post Overview or Pages > Page Overview.

4) Managing and Installing WordPress Plugins
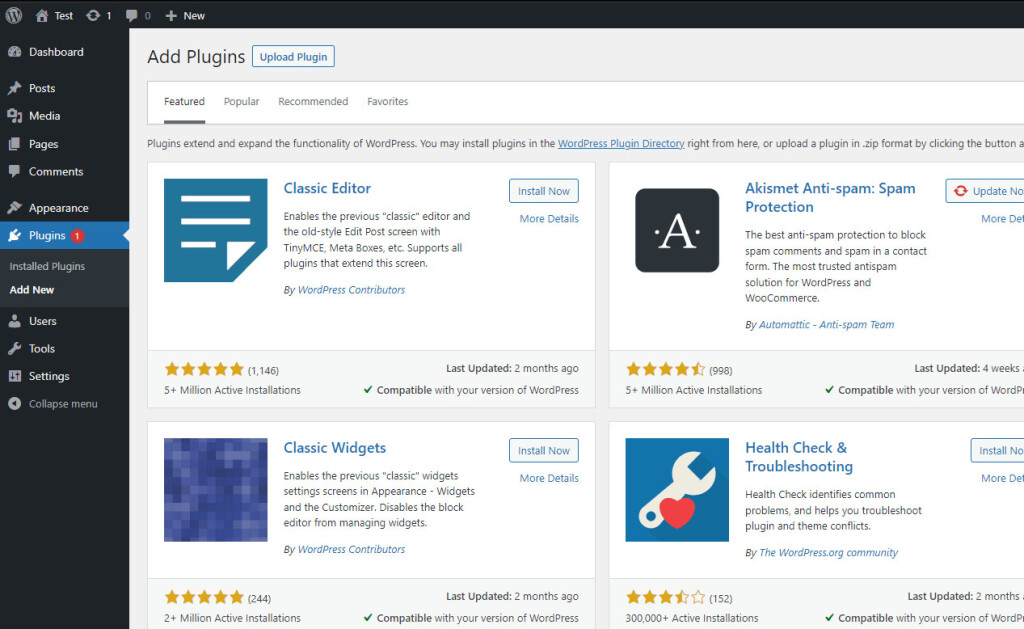
Once you become familiar with the options that WordPress offers for creating posts and pages, you might start looking for additional tools and features that you want to have on your site. These extensions are provided by plugins. You can access the list of installed plugins through the Plugins item in the menu. After installing WordPress, you will see the Akismet Anti-Spam and Hello Dolly plugins in there (these are the plugins included in the basic WordPress installation).
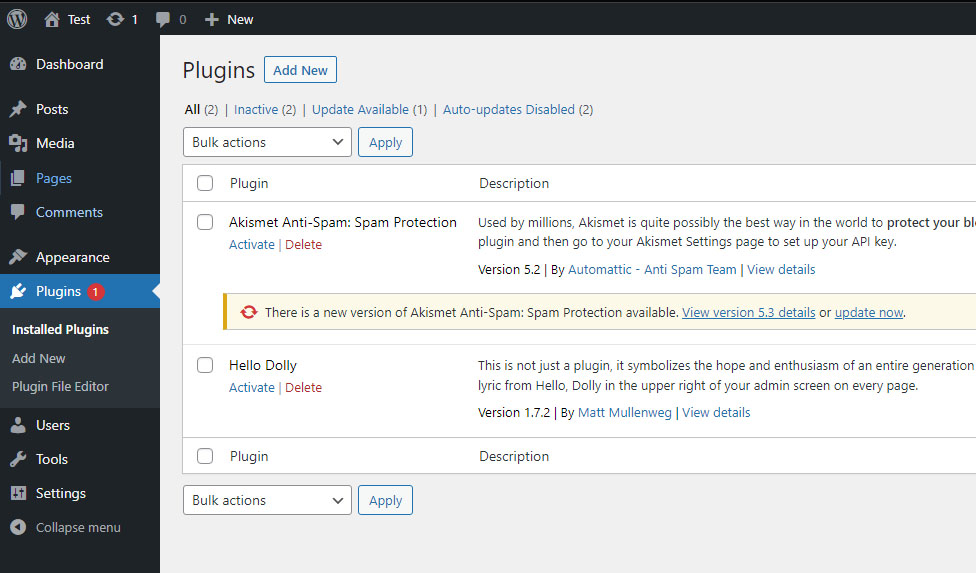
You can start exploring new plugins by clicking the "Add New" button next to the "Plugins" heading at the top left (as seen in the screenshot above). You can view plugins as you like, search for inspiration, and even install them right away. You can install as many as you want, but in general, for the stability of WordPress, it's better to have only the plugins that you truly need installed (and activated).
You can, of course, search for plugins based on specified criteria. This option is handy when you are looking for a specific type of plugin using various keywords, such as for SEO, login security, and more. Similar to themes, searching and browsing for plugins is entirely intuitive.
For each plugin, you can open details, read more information or reviews, view screenshots, and more. Before installing, pay attention to compatibility with your current version of WordPress.
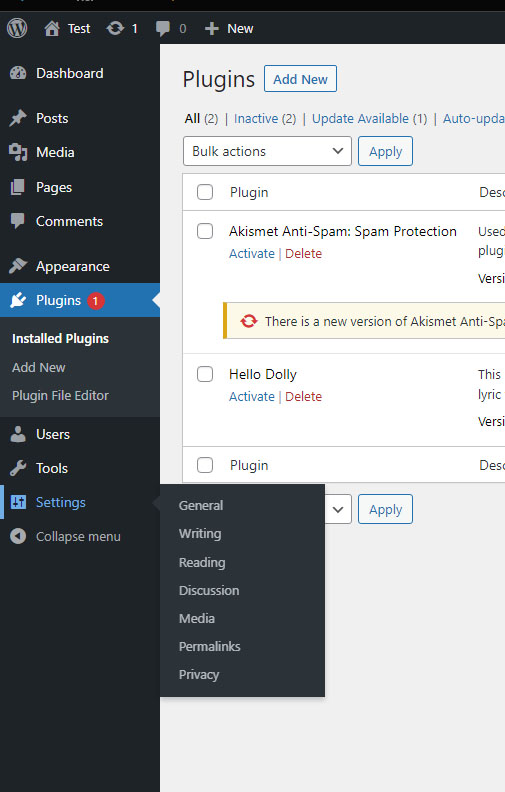
Once you've chosen and installed a plugin, the next step is its activation and configuration. You can activate it either during installation or at any time later in the list of installed plugins. If plugins offer any settings, you usually find them in one of two places. Some plugins appear as menu items, while others are added as submenu items under "Settings."
Let's get started!